


🌬️ Chill Out in Style!
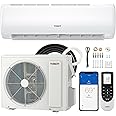
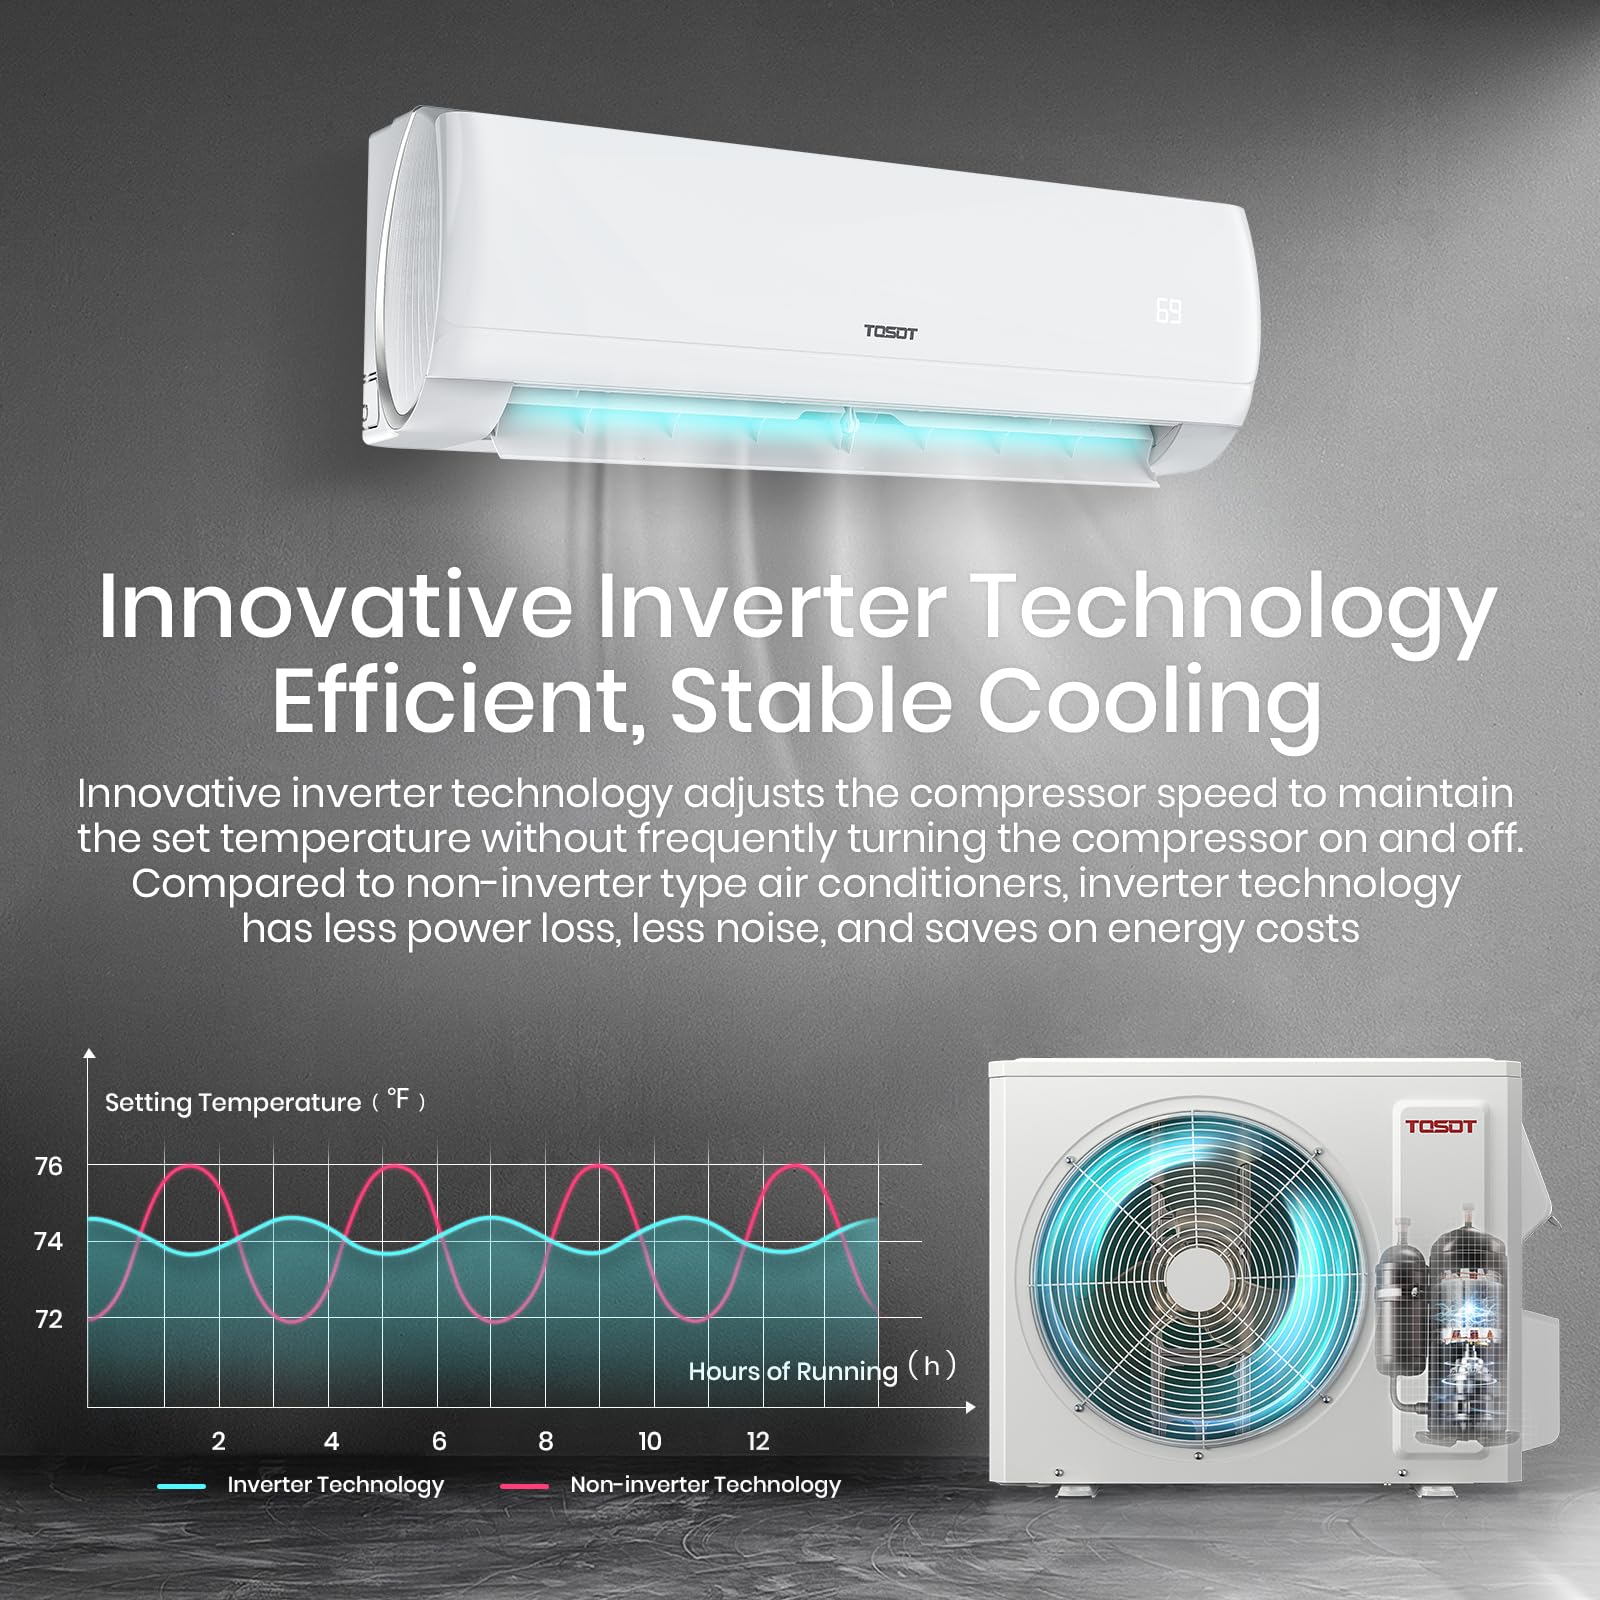
The TOSOT 12,000 BTU Mini-Split Air Conditioner is a cutting-edge, WiFi-enabled ductless inverter system that offers both cooling and heating capabilities. With a remarkable SEER2 rating above 20, it promises significant energy savings while providing reliable performance in extreme temperatures. Its whisper-quiet operation and smart control features make it an ideal choice for modern living.


| Manufacturer | TOSOT |
| Part Number | GWH12AFCXB-A3DNA2C/I |
| Item Weight | 69.4 pounds |
| Product Dimensions | 14.7 x 23.2 x 31.1 inches |
| Size | WiFi - 12,000 BTU 115V (20 SEER2) |
| Color | White |
| Power Source | Corded Electric |
| Voltage | 115 Volts |
| Installation Method | Split System |
| Sound Level | 24 dB |
| Special Features | Google Assistant,Wifi |
| Included Components | Outdoor Condenser, Indoor Air Handler |
| Batteries Required? | No |
| Capacity | 1 Tons |
| Floor Area | 1500 Square Feet |
J**P
Great value Split AC unit
I wanted a 120V split system for a modest sized bedroom. This Tosot 9,000 BTU system fit the bill perfectly. Installation was relatively straight forward. I did it myself and watched a few videos on YouTube to be sure I fully understood the process (I highly recommend LRN2DIY Channel on YouTube for a good Tosot installation tutorial). I needed to purchase a torque wrench and a vacuum pump with pressure gauge attachment (see the video for details), plus the electrical wiring and conduit. Even with these added expenses, the full installation cost me under $1K.I’ve only had the system working for a few days and, with autumn temps, I haven’t needed to run it much. That said, cooling and heating appear to work well. The system is very quiet inside and the outdoor compressor is quiet too. The Tosot app (iPhone) works perfectly on my home WiFi and is a nice alternative to the remote control. I have not been able to get it connected to Alexa, which is a bit frustrating…but with the remote and the app working, Alexa is not critical for me.Now that I have the torque wrench and vac pump, my next Tosot installation should be easy and more cost effective.
M**P
Nice small a/c system
I like doing projects around the house. But I am in no way a pro. I found this install to be pretty straight forward but challenging. I followed the instructions as best I could. As usual, the instructions leave a lot to be desired. But after watching a few YouTube videos I put the whole thing together without much trouble.I wanted to mount the condenser on the outside wall but was afraid of hearing it rumble. It is so quiet that a wall mount would not have been a problem. The exhaust fan is louder than the compressor.I had an electrician install the disconnect where I needed it. I connected the line set and wiring to the inside unit and pushed them and the drain hose through the 3'' hole I had drilled. My wife stood outside and guided the copper lines while I hung the inside unit on the wall. The instructions said to wrap all the lines together beforehand, but I just did a small section. I figured it would be easier to avoid kinking the lines if they were still separate. I gently pushed and bent the lines toward the path I determined they needed to go. Connected them to the compressor and pulled a vacuum on them. The cheap vacuum pump I ordered from Amazon worked great. I did order adaptors that were advertised to be specifically for a mini split. After removing the pump, releasing the freon and connecting the wiring it was time to test the unit. At first, I was sure there was something wrong. The lights and fan were on, but it didn't seem cold. Before I panicked, I gave it a few minutes, and everything worked perfectly. I am very pleased with this unit. Go slow, read the directions a hundred times and watch YouTube. You can do this.
T**M
So far so good.
I installed this in a 42' destination travel trailer. The two ceiling AC units were fine, but they were very loud so I was looking for something more efficient, quieter, and something with a heat pump in hopes of reducing the use of the propane furnace during the winter.So being it is an RV, installation is pretty much the same. I was lucky enough to run the lineset down an interior wall so I didn't have to drill directly into the exterior wall. I used 25' of lineset so the original 16' wasn't used. The manufacturer was extremely quick to reply to my question regarding how much refrigerant to add to the added lineset length - which is .215oz per foot after doing the metric conversion.The condenser unit came a little dented on the face which looks like the compressor may have bumped the exterior during shipping. It would honestly be more trouble than it's worth trying resolve aesthetic damage through Amazon or the manufacturer. I would have pursued it if there was mechanical damage.You will need a 5/16" adapter to hook up traditional 1/4" gauges/hoses. And of course a good vacuum. I believe I was down to about 220 microns before I called it and that was after two flushes with nitrogen.Unit purrrrs. The condensor is extremely quiet. I do get a little hum or resonance from the inside and it could be because I have it mounted on the paper thin back wall of the RV, or maybe it's slightly out of balance from shipping and denting the side. The wire cage of the condensing unit shakes just a bit when it's running. I don't want to pursue this because I am not 100% sure the shipping damage causes the slight vibration/noise. The indoor evap unit runs so quiet... we love it. We can talk normally and watch TV at ease. The comfort is much, much better. Even with a slight hum from the condenser, it's so much better than the Coleman Mach rooftop AC units that are super loud and blows too hard. The cycling on and off would drive me crazy. This minisplit just purrs - and we love it! I can't comment how the heat works because it's still summer. But I am hoping it will do ok with our mild south-eastern winters.My only complaint or beef is the wiring diagram for the indoor evap unit. It is wrong on page 24 of the manual, as others have pointed out... but nobody stated how to correct it! Should I? Of course! Let me save you a little bit of pain...MIRROR THE WIRING ON THE INSIDE UNIT TO THE OUTDOOR CONDENSER. The diagram for the condenser is correct. Wire the indoor unit the same. So look at the wiring diagram for the outdoor condenser for both. L1 - S - L2 is correct for both. Page 24 says L1 - L2 - S and this is WRONG.I got this unit on Amazon Prime day with 20% off, making it a decent deal for an 18k unit. I am a licensed/EPA certification HVAC guy who's been out of the field for a few years but I still have the know how and tools. Install can be done by anyone with a basic understanding of electrical and refrigeration. DO YOUR VACUUM. I cant stress that enough! And ALWAYS use nitrogen when brazing - but you'll probably using flared connections.Good luck!
Trustpilot
1 month ago
1 week ago